Showing posts with label Sewing. Show all posts

Saturday, March 25, 2017

Easy Step by Step Instructions for Creating Memorable and Pretty Walls with Our Daughters' (It's Fun Aswell)

Hi Everyone,


I have fond memories with my Mother creating fun projects and learning creative stitches and knitting projects.  It was a skill that I didn't much think about until I became a mother and now I am so thankful to pass on those wonderful memories to my girls'.  Admittedly, our time is limited together so it really is only for a few minutes each week that we can sit and enjoy each others company.  The beauty of these project however, is they are not time consuming or difficult and we can easily  pick up  where we left off.  My oldest (10 years almost 11 now:(0)  especially enjoys these times together, perhaps because of her age or maybe that she just enjoys it, either way I am happy to sit for a moment when she asks me to show a new stitch to her.  So I really encourage you and your daughters' to pick up this easy craft to decorate your own walls or perhaps gift these to your teachers, friends or relatives.  They will be thrilled with your creativity and thankful for your thoughfulness.  I just recently finished these two landscape, weed type patterns:)
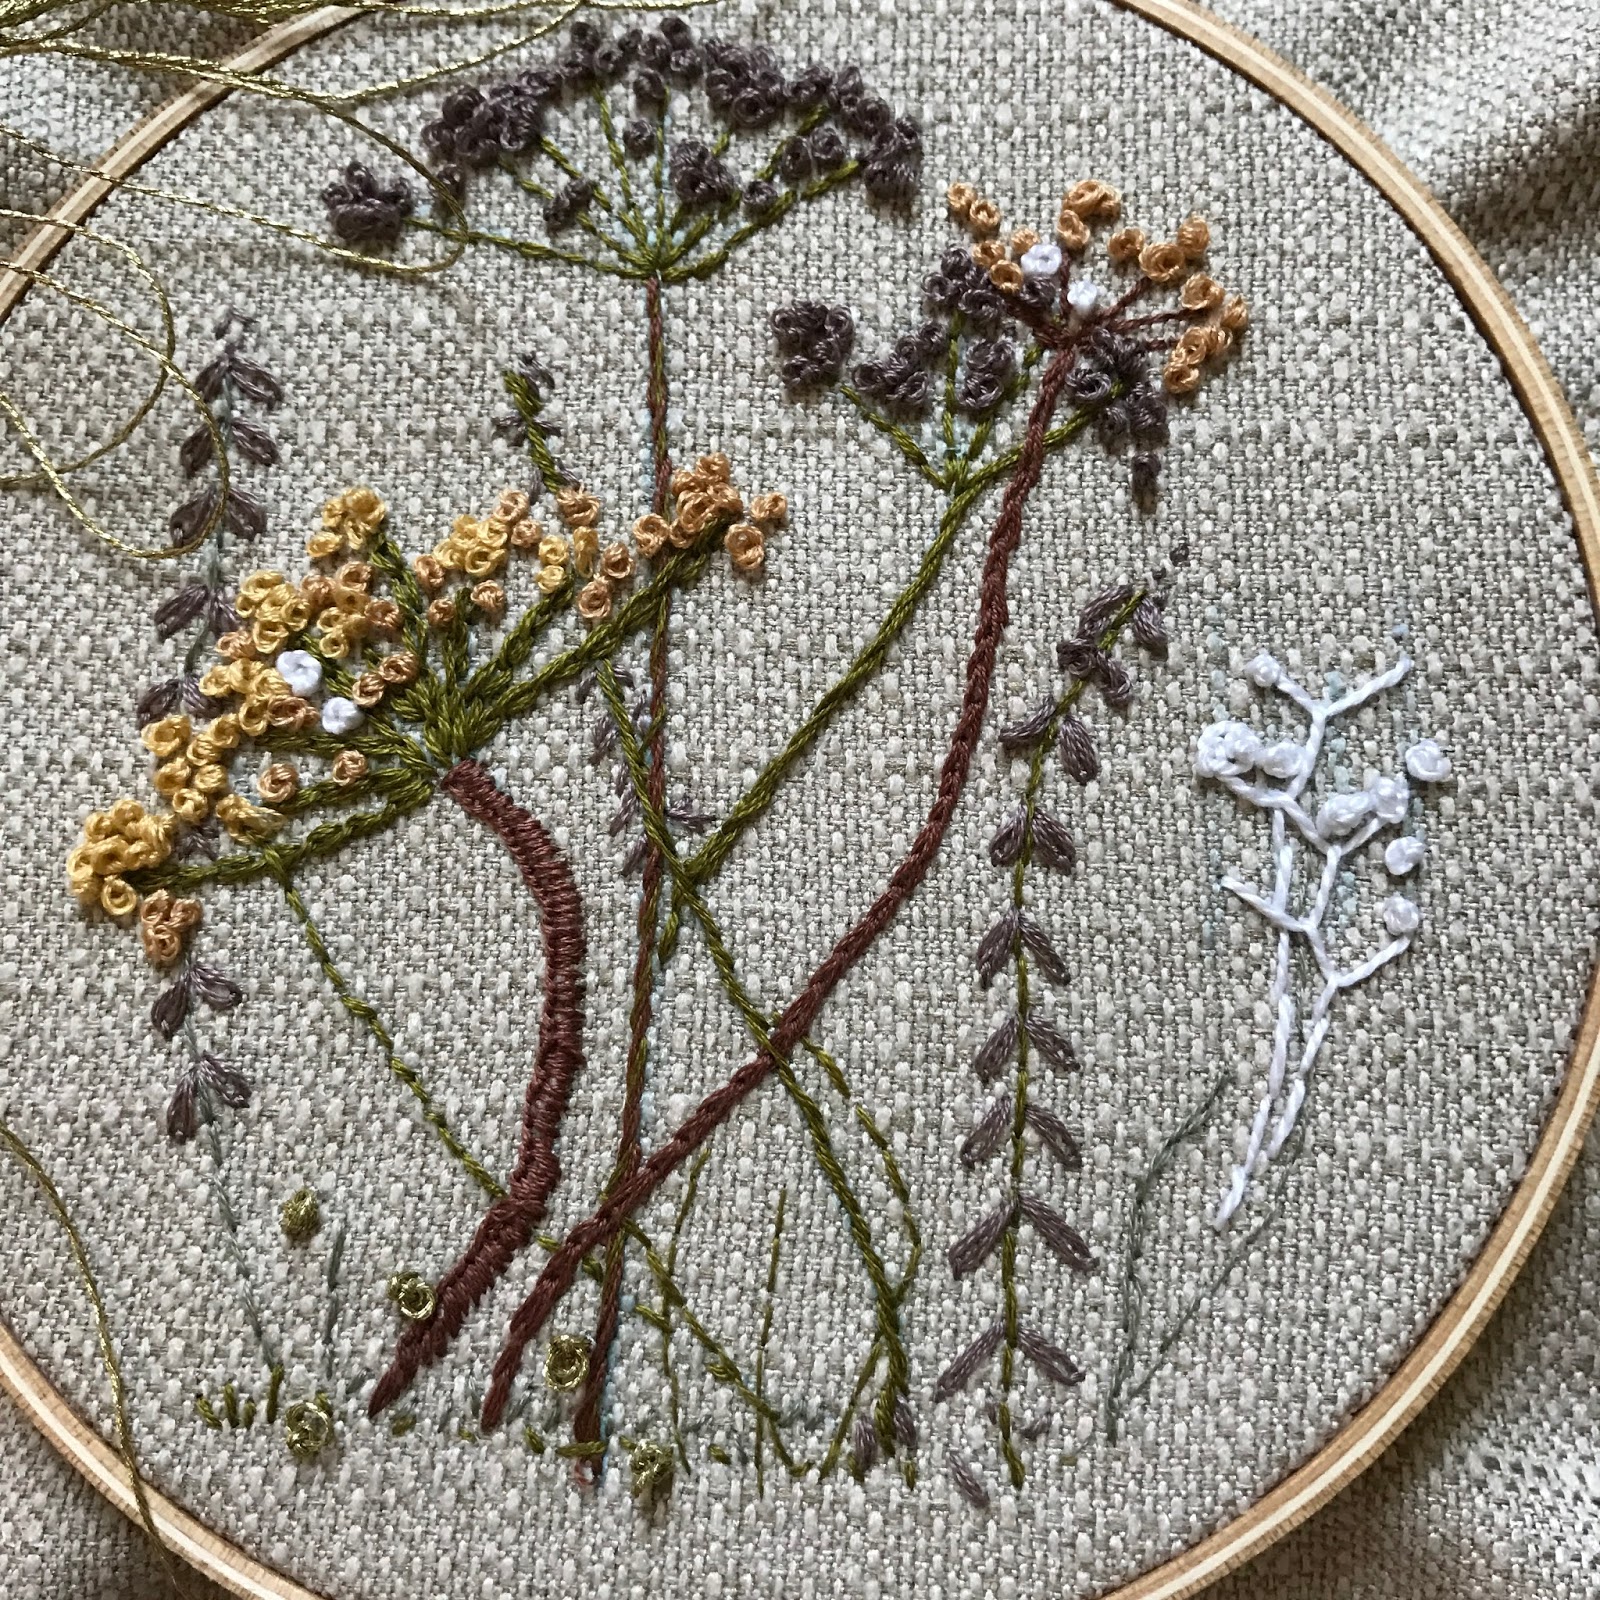


Embriodery Hoop Art Supplies


1.)Embroidery Floss  2.)Embriodery Needles  3.) Embriodery Hoops  4.) Linen Fabric

Draw out the template.  I found a plethora of very sweet drawings online and used what I saw to create something similar to share with you all.  I wanted to create a "work of art" for my daughters' room so chose a sweet pattern that would fit her wall theme.  We chose about 4 different embriodery thread colors.  I would limit to about 4, since too many colors could make the end result messy and the shape not easily discernable.  Now that we have chosen the colors, we move onto the stitches.  


The Simple, Easy Stitches.  Below is a pictorial I pulled from Better Homes and Gardens that explains really well the basic stitches to make really any kind of sweeet pattern.  But a little more helpful instruction probably wouldn't hurt, so I will explain how we put together the rest of our little girl pattern.  I mostly used a very simple straight stitch, what we use to hem clothes for the outline(not pictured here),  but explained further down below.  

Below is pictured the basic straight stitch.  Its basically pushing the needle to the back of the fabric and coming out through the front. once at the end of the row going back to create a solid line of embriodery stitches.  I mixed up the colors here to create interest, alternating pink and red lines of stitches.  

Oops, I failed to mention that you obviouly need to knot the thread.  This is fine since we are creating a hoop, but if you are planning on making a pillow, it's best to not knot the thread since it creates bulk.


On the feet I chose a long stitch, stitched very close togther, like picture taken below.


Almost finished here.  Danielle  completed the balloons in a few minutes and then we used a push-pin to mount on her wall in her room.  She is hoping to fill her wall...maybe over the summer instead of endless hours wasted in-front of the TV:)


I've attached a few more images for you all to view and maybe get inspiration from... Enjoy making these, they really are so cute on the wall and it does bring great joy to the little ones to see their works of art displayed.

herdogblog.com


LiliPopo


This is a sweet pattern to follow and easy to copy.  

Embroidery.com

Toyspark.blogpsot.com


yodowandadawan.com


Andstitches.blogspot.com


emelineandannabelle.com

Visit


So now you all can see my latest obsession, embroidery hoops.  I'm looking forward to practicing so much more and creating memories with my girls'.  Thanks for reading today!

Hope you all are enjoying a relaxing and peaceful Sunday.

Warmly, 
Sarah  😊


Saturday, January 16, 2016

Economical Box Pleat Valance

Hi Everyone,

It's winter around here, the past couple of months were mild, but now we are mostly bundled inside with brief moments outside.   Since we are indoors quite a bit I am excited to knock out a few to-do items on my list.  I have painted several rooms already and am working on completing a few more sewing projects, which I will share with you shortly.  My most recent is an easy yet elegant Economical Box-Pleat Valance.  I completed this project over the weekend, so not terribly time consuming, but I think adds a little something to our office.  So let's get started creating this together.  I apologize for the quality of some of the images, I had limited light in the basement.


The window measured 56.5inches wide and I purchased a yard and a half of fabric with matching trim.                                        
                                                          The supplies needed:
1. Approximately 1 yard of your favorite fabric and matching trim
2.Pine Wood trim piece cut to size
3.Staple Gun
4.Velcro
5.Needles, Sewing Machine, Iron for Pressing


STEP 1


STEP 2

Sew the Lining to the Decorative Fabric.


STEP 3.
Note*  The 2 halves, per step , that were sewn together are lined exactly to the center of your pine board, as shown in the below image.


Step 4.

I hand stitched the hems on the sides. Be sure to douple-fold your hems, since it creates a cleaner more prefessional look.


Step 5.

We sewed the two halves together, therefore; this created a longer length than the actual wooden valance piece.  By trial and error,  this may take some a little time.  I folded a small tuck at the edges to create a little depth and a more custom feel to our valance.
You may need to play around with the fabric to create an even tuck on each side in the corners.

Step 6a.


Step 6b.
Make sure to securely pin the center fold before sewing the velcro, since it tends to open while sewing.


Step 7.


Step 8.


Step 9.

Now add the L-Brackets to your pine board and mount the 2x4 on the wall. Firmly place the velcro on your decorative valance to the rough velcro on the pine board.  Attach  from the center fold and  move toward the edge of the 2X4.


A simple, economical box pleat valance looks great with a roman shade or panels depending on the formality of the room.

Let me know if you have any questions.  I would be happy to help!


Enjoy your weekend!


Sarah

Linking up wtih www.savvysouthernstyle.net


Friday, November 6, 2015

Tutorial for a London Shade


Hi Everyone,


   Well, we are all moved into our home, barring for a few small projects we are feeling relatively settled.  The kiddos are adjusting well to their new home and surroundings, thankfully!  Building a home certainly has its challenges, but seeing the  girls happy and comfortable makes it all worth it.

 In a few of the rooms I called a professional to install blinds, but for the most part I would like to tackle each room slowly, by adding roman shade or something similar to dress the windows.  My first project was the London Shade.  It provides privacy and light control, however we will not be lifting the shade too much, which  allows for an easy application, which I will share below.
                                       
                                               
   Below are the supplies I used for my Project


Now to measure the window and fabric requirements for My project,  Yours will look different depending on your size window, but the hem allowance, ruffle allowance, and pleating will look the same.  Hopefully that is clear.


1.) Now we have determined the length and width.  Cut your fabric and lining to size and turn in        your bottom hem 6"(I recommend double turning your hems) and your side hem 2".

Double hem all sides for a total of 6" on the bottom and 2" on the sides.


2.) Measuring for the 2 pleats on each side of the london shade can be tricky and time consuming, but      once you get the hang it, it's simple and so pretty.  I think it give the shade a custom feel and helps       with the folding after its hang correctly.
              a. measure 6" from one width side to the other.  Also making sure to mark 6" 
                 throughout the length of  the panel. This will eliminate or reduce error when pleating.          
              b. fold from third 6"mark to the 5th


            c.  This is how the shade will look from the back once all the pleats are pinned into place.


3.)  Optional step: I added pre-made piping for a custom look.  Pin into place, then sew.

Premade Piping pinned into place making sure the pleats stay in place and folded evenly.  In this picture the pleats on the right-side are fused together. I made sure to keep the pleat from overlapping.


Stitch the Austrian Tape down the middle of the two pleats. Making sure to stitch from the top of the bottom hem line about 3/4 up the length of the fabric, or about 10 inches from the top.

Now screw in the 2 x 4 to the window frame (either outside or inside mount). Pictured, I stapled the rough edge of the velcro to the 2 x 4.

Add  two screw eyes  12 inches from the edge and 1 additional screw eye 2 inches from the right edge.

At the bottom of the shade pull the cords of the Austrian Tape (pictured) to ruffle the fabric. Evenly pull the cords on both sides. Now  firmly tie the cord to the bottom ring (pictured)  and thread through the all  plastic rings.  We are almost done!


3.) Pull the Roman Shade Cord through the screw eyes attached to the 2 x 4 and feed all the the cords through the screws. Do not leave any cords loose, all the cords should be pulled through the screw eyes.  Please make sure your cords are long enough before cutting.

4.) Add the cord condenser to the bottom of the cords to prevent fraying and wrap the cord around a        cleat.

It might take  a little time to adjust the folds and get the look you would want for your London Shade. My shades are pulled up about half way up the window to allow light to come in, but also create the look I wanted to achieve.  


Enjoy making your London Shade and Thanks for Reading this Tutorial!

Sarah