Reader,
This was a super easy, inexpensive addition to a Christmas Wreath that adds just a touch of the Christmas spirit to any window. I purchased the cranberry wreath several years ago at a craft store, I think Micheals, or Joann on their clearance rack, and decided this year to add a little burlap, fresh greenery and pine cones.
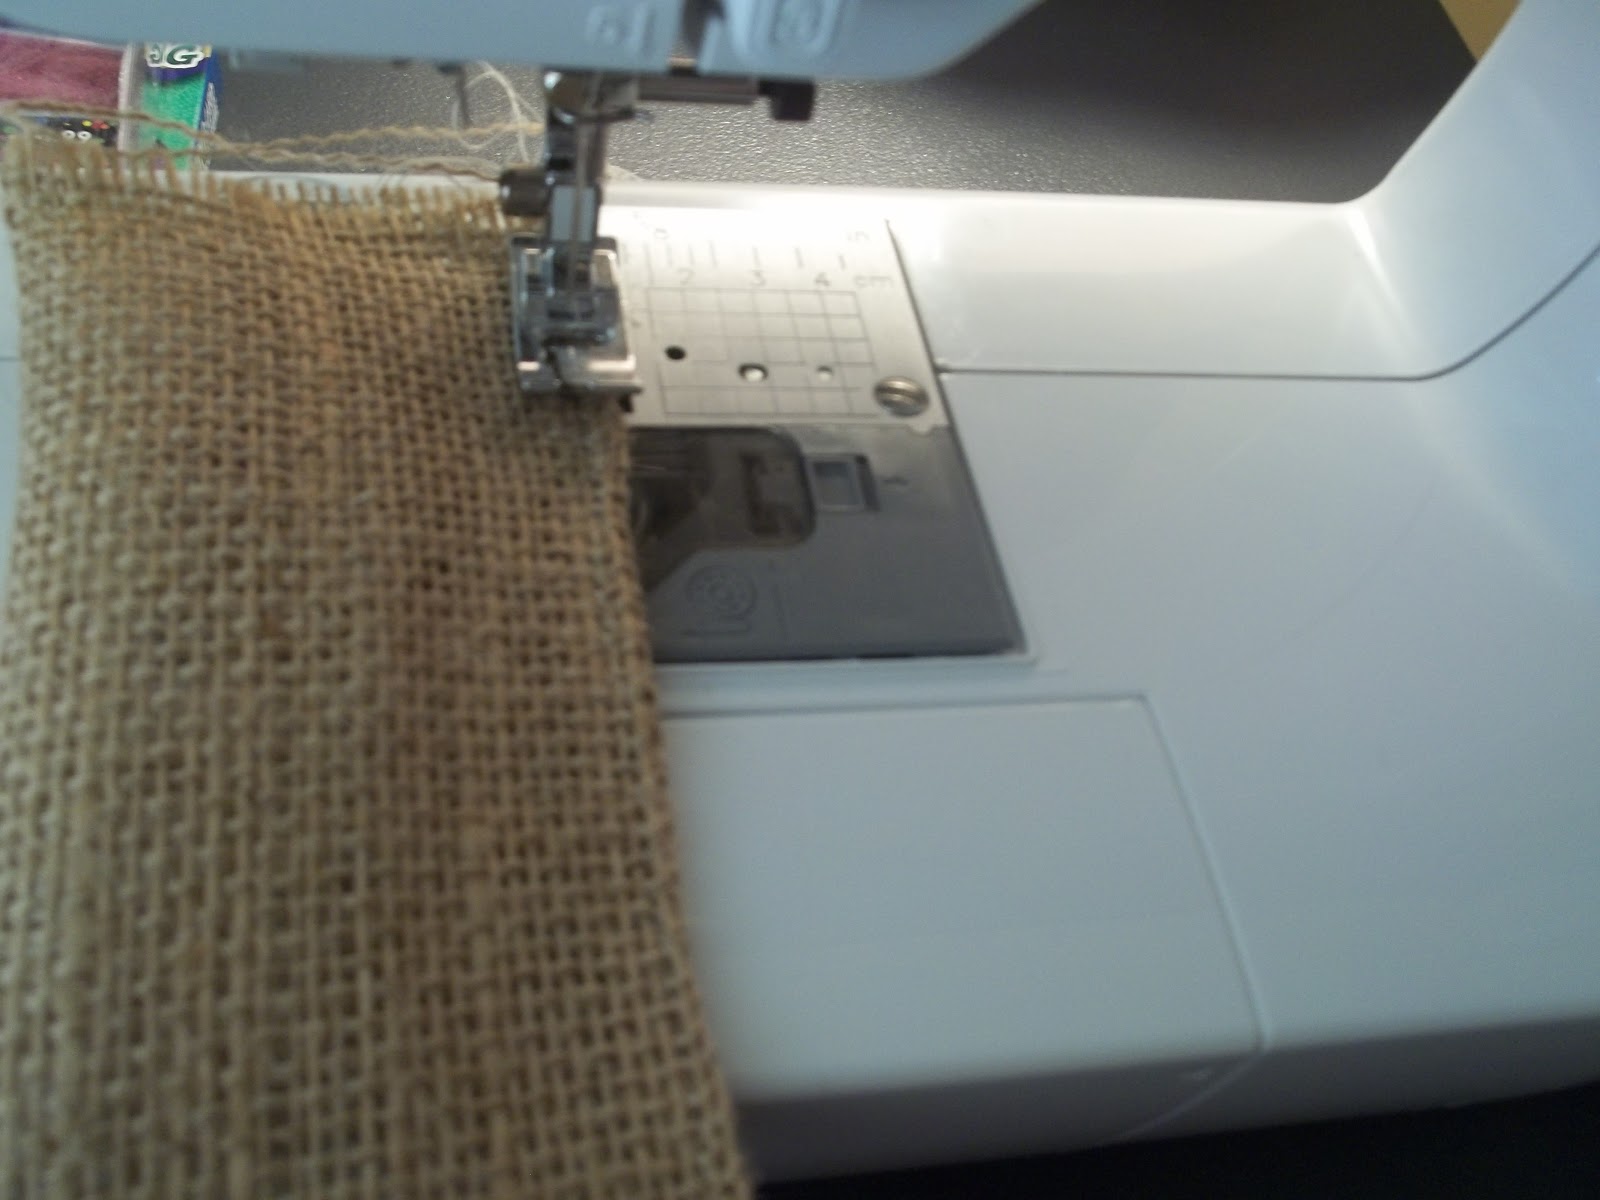
I decided to sew burlap strips together, however for a more casual
rustic look one could skip the sewing totally. Here is my step by
step guide along with a few photos of my daughter who wanted to play
this game in between my craft sessions.
 |
| Supplies |
 |
| My wreath and burlap. |
 |
| How could I say "no." She painstakingly placed the shapes together and was so proud of the end product |
 |
| Measure window length and cut accordingly. I cut 6"wide strips by 21" long. |
 |
| I sewed the burlap edges together. |
 |
| Hot glued to back of wreath. |
 |
| Viola! |
Thanks for reading.
SK


No comments:
Post a Comment