


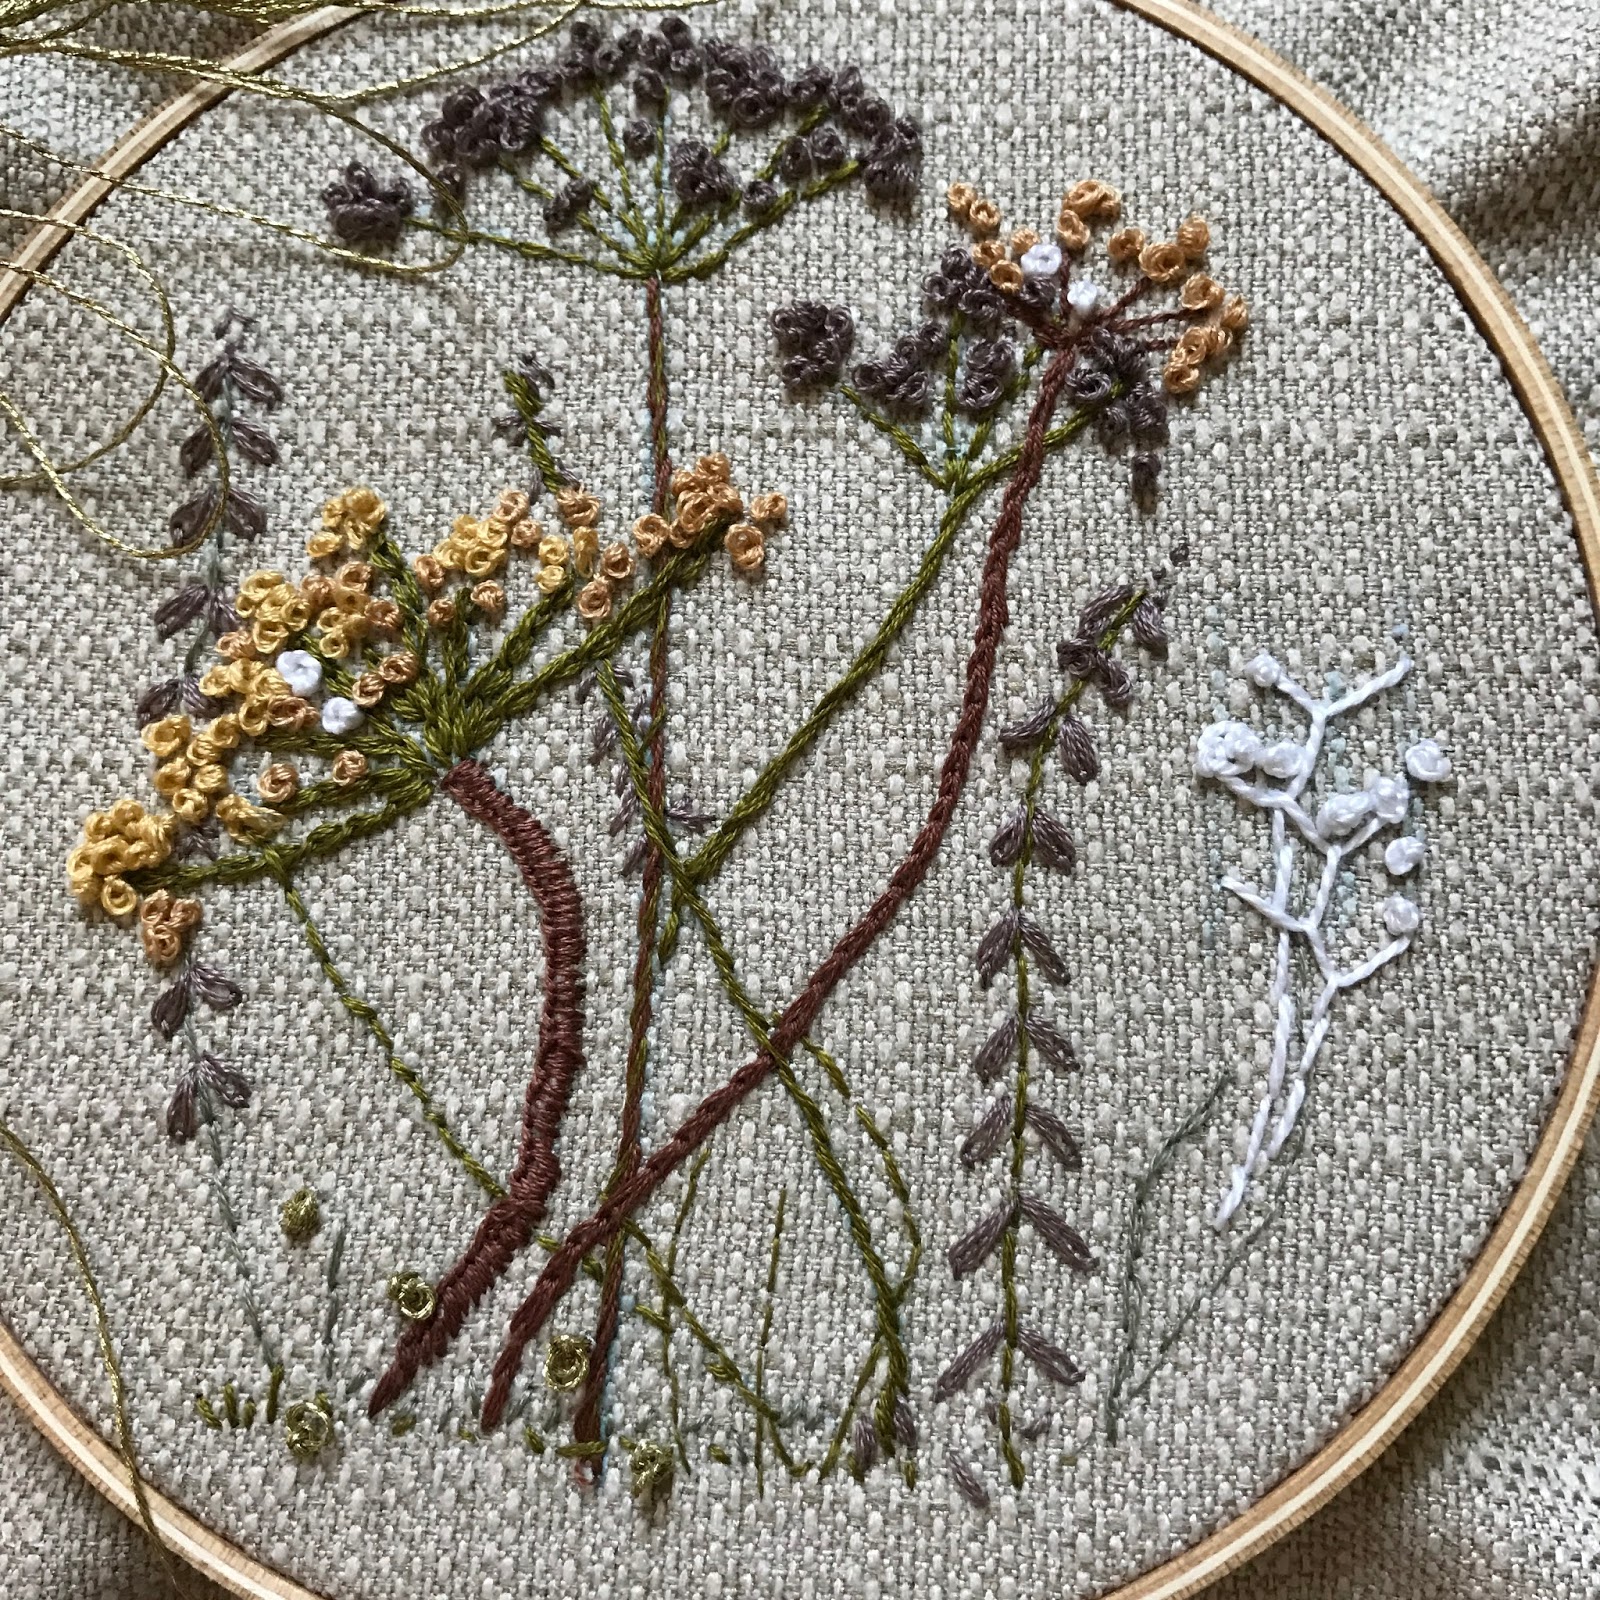
I have fond memories with my Mother creating fun projects and learning creative stitches and knitting projects. It was a skill that I didn't much think about until I became a mother and now I am so thankful to pass on those wonderful memories to my girls'. Admittedly, our time is limited together so it really is only for a few minutes each week that we can sit and enjoy each others company. The beauty of these project however, is they are not time consuming or difficult and we can easily pick up where we left off. My oldest (10 years almost 11 now:(0) especially enjoys these times together, perhaps because of her age or maybe that she just enjoys it, either way I am happy to sit for a moment when she asks me to show a new stitch to her. So I really encourage you and your daughters' to pick up this easy craft to decorate your own walls or perhaps gift these to your teachers, friends or relatives. They will be thrilled with your creativity and thankful for your thoughfulness. I just recently finished these two landscape, weed type patterns:)


Embriodery Hoop Art Supplies

1.)Embroidery Floss 2.)Embriodery Needles 3.) Embriodery Hoops 4.) Linen Fabric
Draw out the template. I found a plethora of very sweet drawings online and used what I saw to create something similar to share with you all. I wanted to create a "work of art" for my daughters' room so chose a sweet pattern that would fit her wall theme. We chose about 4 different embriodery thread colors. I would limit to about 4, since too many colors could make the end result messy and the shape not easily discernable. Now that we have chosen the colors, we move onto the stitches.

The Simple, Easy Stitches. Below is a pictorial I pulled from Better Homes and Gardens that explains really well the basic stitches to make really any kind of sweeet pattern. But a little more helpful instruction probably wouldn't hurt, so I will explain how we put together the rest of our little girl pattern. I mostly used a very simple straight stitch, what we use to hem clothes for the outline(not pictured here), but explained further down below.

Below is pictured the basic straight stitch. Its basically pushing the needle to the back of the fabric and coming out through the front. once at the end of the row going back to create a solid line of embriodery stitches. I mixed up the colors here to create interest, alternating pink and red lines of stitches.

Oops, I failed to mention that you obviouly need to knot the thread. This is fine since we are creating a hoop, but if you are planning on making a pillow, it's best to not knot the thread since it creates bulk.

On the feet I chose a long stitch, stitched very close togther, like picture taken below.

Almost finished here. Danielle completed the balloons in a few minutes and then we used a push-pin to mount on her wall in her room. She is hoping to fill her wall...maybe over the summer instead of endless hours wasted in-front of the TV:)


I've attached a few more images for you all to view and maybe get inspiration from... Enjoy making these, they really are so cute on the wall and it does bring great joy to the little ones to see their works of art displayed.
 |
| herdogblog.com |
 |
| LiliPopo |
This is a sweet pattern to follow and easy to copy.
 |
| Embroidery.com |
 |
| Toyspark.blogpsot.com |
 |
| yodowandadawan.com |
 |
| Andstitches.blogspot.com |
 |
emelineandannabelle.com |
So now you all can see my latest obsession, embroidery hoops. I'm looking forward to practicing so much more and creating memories with my girls'. Thanks for reading today!
Hope you all are enjoying a relaxing and peaceful Sunday.
Warmly,
Sarah 😊

No comments:
Post a Comment